
The last time I made jam was about 18 years ago, when one summer in Australia, my lovely friend Liz and I realised we both had a glut of fruit - she had a heaving plum tree and my Dad had an apricot tree dripping with ripe fruit. So we picked and halved and both made some plum and some apricot jam. One of my lovely Grandads was in Canberra visiting at the time and I will always remember how complimentary he was about the jam; he was so supportive, and the jam did taste delicious, it just wasn't as set as it should have been.

So this holidays I wanted to have another go with strawberries. We have a local Pick you Own (PYO) farm near us called Garson's Farm, and it is full of all kinds of seasonal fruit and vegetables to pick. So, yesterday on impulse, my son and I went over to get strawberries. We were fairly late in the day so all the best and easy to find were almost gone, but we managed to find a decent batch of shiny red ones.
For this jam, I took the easy way out and used Jam Sugar. It comes with pectin already included. It's probably not that much easier than buying pectin separately, but for a novice like me it make the whole jump into jamming again easy and motivating!

This morning I couldn't wait to try some on my toast - it was so delicious, although very sweet....I would normally put less on my toast but for my first batch I lathered it on!

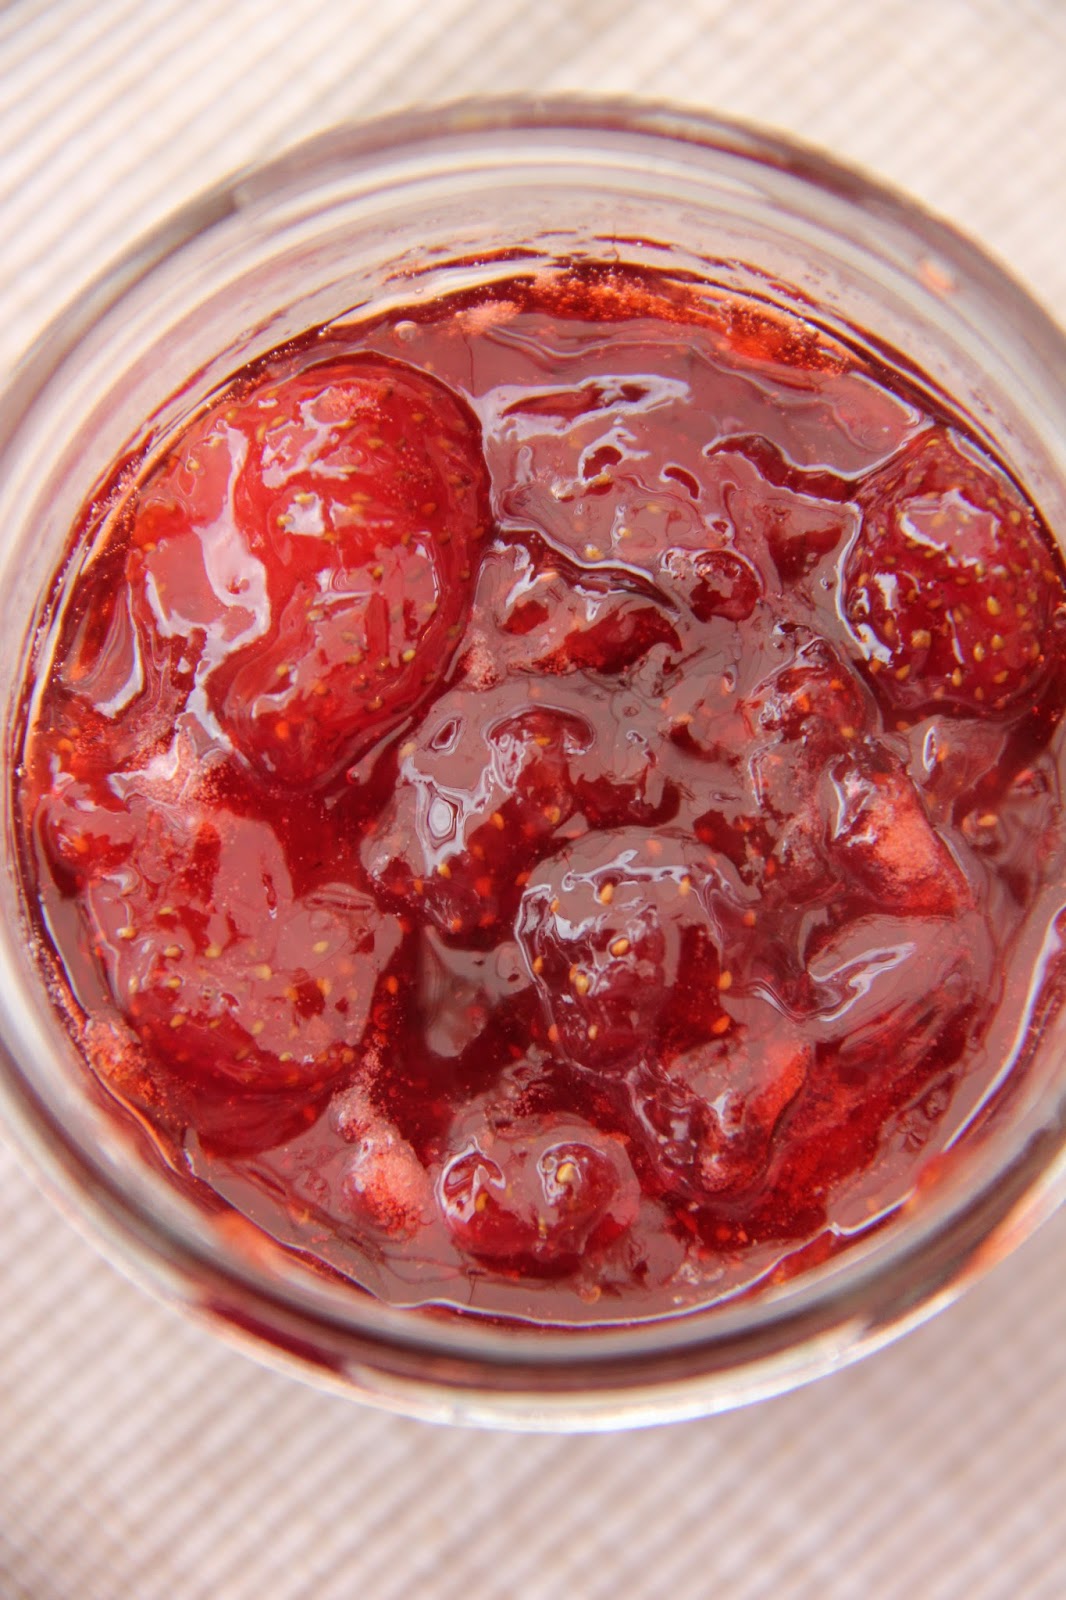
I love all the chunks of strawberry - I've always liked my jam with bits in it, seeds, pieces; somehow it feels more real.

Strawberry Jam
Ingredients:
1 kg fresh strawberries, washed, drained and hulled
1 kg jam sugar
Juice of 1 lemon
Method:
1. Put the strawberries and lemon juice in a very large, heavy bottomed saucepan and heat for a few minutes to soften.
2. Add the jam sugar and stir until dissolved and then boil steadily for about 15 minutes, or until setting point is reached. I added my candy thermometer to the pan and could see it boiling consistently at 105C/220F.
3. To test for the setting point, place a teaspoon of jam onto a cold plate, leave for a few seconds, push the jam with a finger, if the surface wrinkles, setting point has been reached. I did this quite a few times from about the 6 min mark. I took it off only because it was starting to stick to the bottom on the saucepan. It could have done with a bit more cooking I think. Perhaps I should have stirred the mix more as it boiled to avoid the sticking.
4. Remove the foam from the top with a slotted spoon while it is hot. Allow to stand for a few minutes and then spoon into sterilised jars. Seal and allow to cool on the bench.
5. Once opened, store in the fridge.

Notes:
To sterilise the jars, I washed them and then put them into an oven at 110C for 15 minutes. I dipped the orange seals into boiling water.
When putting into the jars, it really helps to have a metal, wide opening funnel - you can buy them easily at this time of year.
I will admit to using my potato masher to break the strawberries up a bit as they boiled!

Enjoy! x


